I was looking around the internet and social media trying to gain a little inspiration for something new Miss A could try eating. Everywhere you see, children love eating with their hands to feel what a new food is like and nuggets fit perfectly into this category. The trouble is, is that nearly every recipe I have found, contains a bit of parmesan cheese and uses an egg wash before crumbing. These are 2 things that Miss A cannot eat.
Therefore, the below recipe is my take on the classic Chicken Nugget albeit a bit healthier and full of those ‘hidden’ vegetables that all parents like to sneak in. I find by adding a good amount of veggies means that the chicken breast does not dry out too much and the nuggets are still moist to eat. Enjoy xx
Therefore, the below recipe is my take on the classic Chicken Nugget albeit a bit healthier and full of those ‘hidden’ vegetables that all parents like to sneak in. I find by adding a good amount of veggies means that the chicken breast does not dry out too much and the nuggets are still moist to eat. Enjoy xx
6 weet-bix
500-600 grams chicken breast, cut into ~4cm chunks
drizzle of garlic oil
drizzle of garlic oil
1 small zucchini
1 leek, white part only, cut into 2
300 grams sweet potato, cut into ~1 cm slices
5 turns of the ”Chef’s Choice” Sicilian style seafood seasoning or to taste (optional) - See note

5 turns of the ”Chef’s Choice” Sicilian style seafood seasoning or to taste (optional) - See note
1. Pre-heat oven to 200C.
2. Place weet-bix into TM bowl and crush 3secs/ speed 6. Set 2/3’s aside in a small shallow bowl. Place the rest of the weet-bix in a large bowl that will be used to combine all ingredients.
3. Place chicken into TM bowl. Mince 2-3 times/ 1-2secs/ closed lid position/ turbo. Set aside in the large bowl.
4. Place zucchini, leek & sweet potato into TM bowl and chop 3secs/ speed6. Add garlic oil over the chicken. You don’t have to add the garlic infused oil however, I find it adds another layer of flavour to the nuggets. Saute 3mins/ varoma/ stir speed/ reverse. Add to chicken in bowl & add seasoning or salt if using.
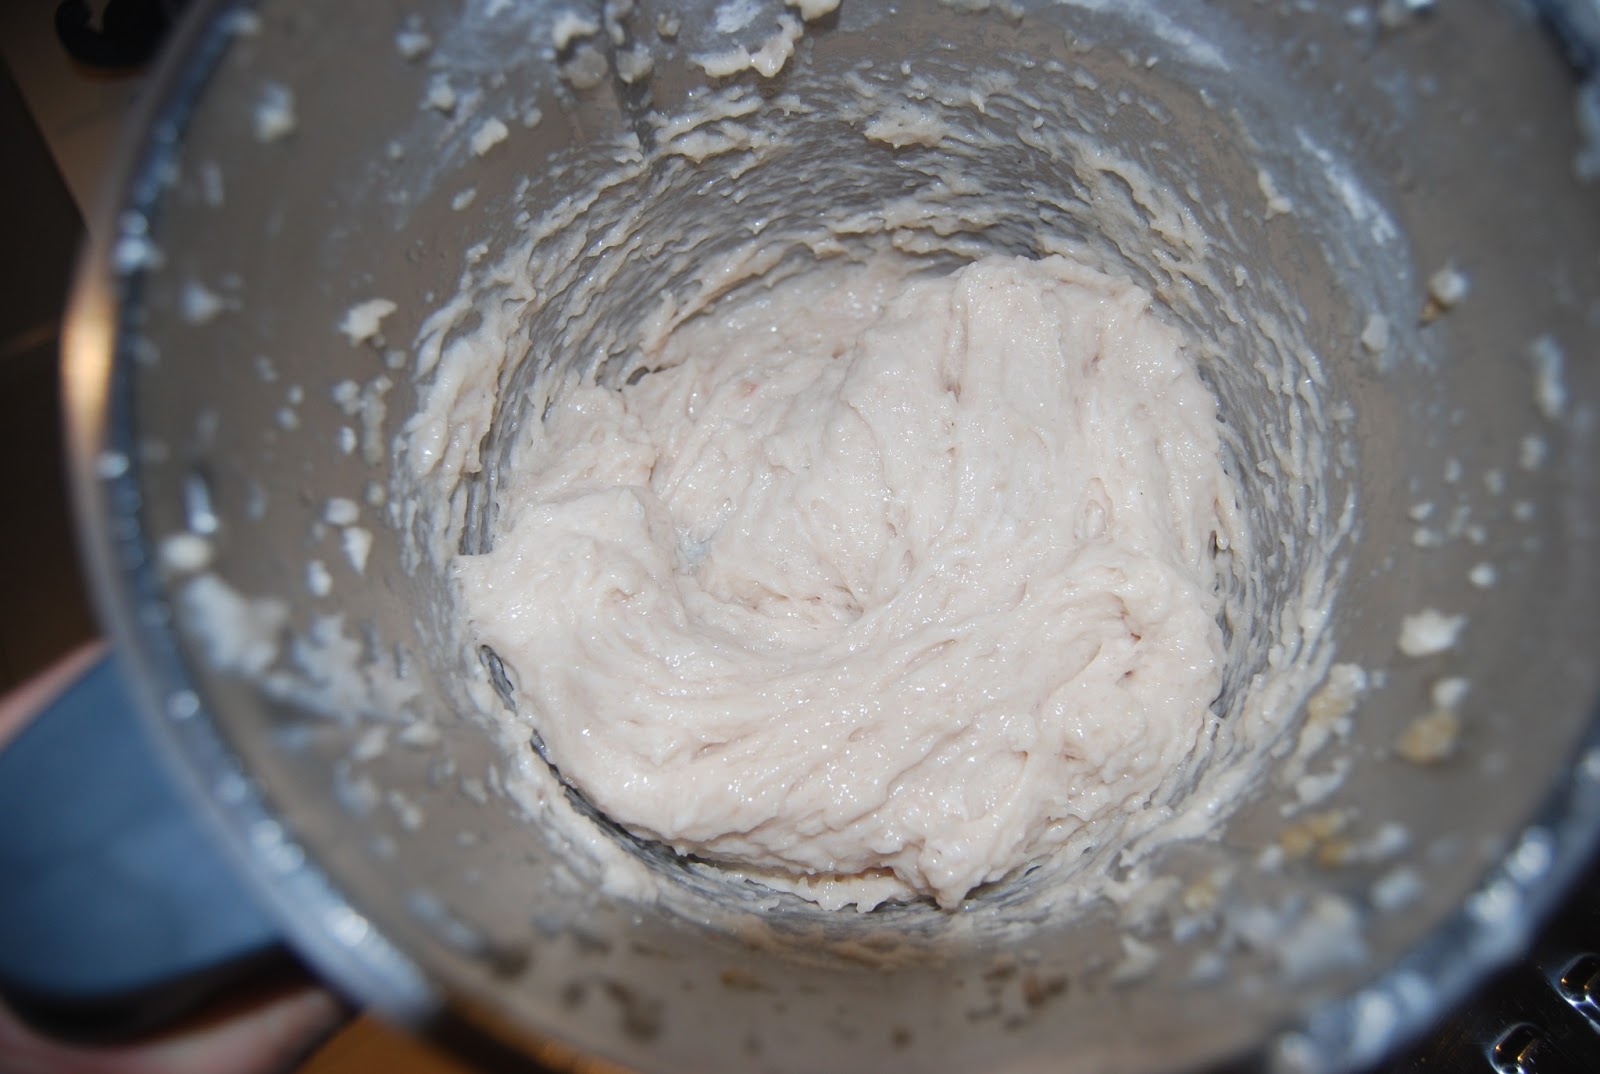
5. Mix with your hands and form either nugget style shapes or balls. Coat in the reserved weet-bix crumb and place on a lined oven tray. (This mixture is quite wet but works well if you use one gloved hand to make the nugget and one ‘naked’ hand to crumb the nugget.)
6. Once all nuggets/balls are complete, give them a quick spray of olive oil over the top.
7. Place in a pre-heated oven for 15minutes. Take the nuggets out and flip them over. Increase the temperature of the oven to 220C and bake another 10 minutes or until golden.
8. Take out of the oven when done and cool slightly before serving with your favourite tomato sauce.

Makes 40-45 nuggets.
Tips: These can be cooked in a frypan instead of oven baked however, they might end up a bit oilier. Also, I have used weet-bix to absorb a bit of the moisture in the mix however, a good batch of bread crumbs thrown in would do the trick too. Finally, I like to use a white zucchini because my Miss A loves to scrutinize her food before eating and it does not stand out as much in the mixture as the more common green zucchini.
Note: This seasoning looks like this: